Saturday, April 3, 2010

Transformed Candle Sconces

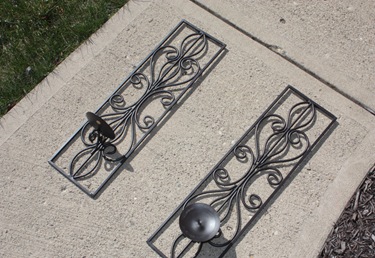
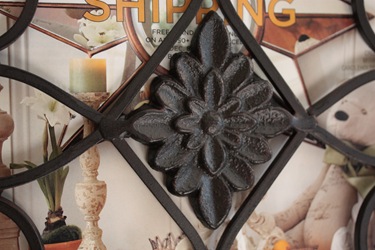
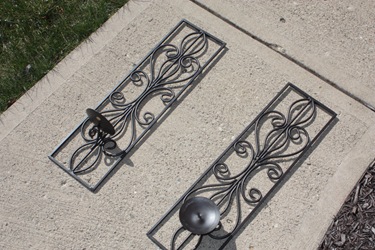
I really loved these sconces when I bought them, however I was never satisfied with how they looked hanging in my house.  I had them above my couch for years and took them down after all the dust on the candles posed a fire hazard.  Oops.

Picture 005

When I re-did my kitchen I had an empty wall that screamed their name—but in a new light.

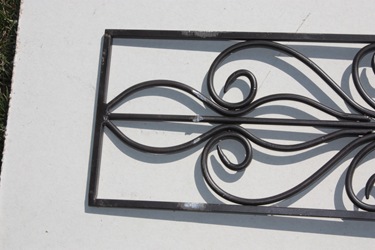
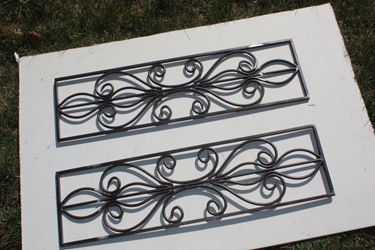
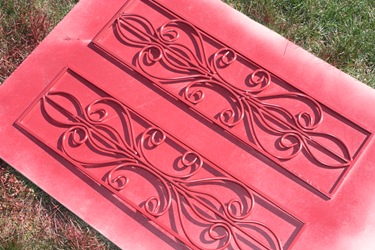
I sawed off the “sconce” part-

Picture 013

Picture 014

And, as you assumed, painted them!!!

Picture 016

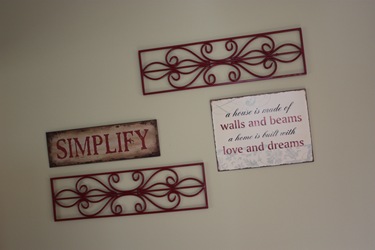
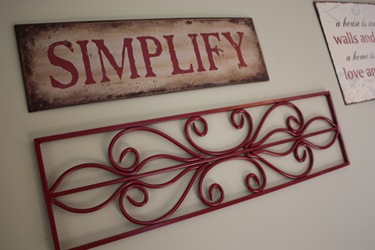
Here’s how they look  on my wall- Dontcha love Hobby Lobby, too?!

Picture 032

Picture 036 

Picture 038

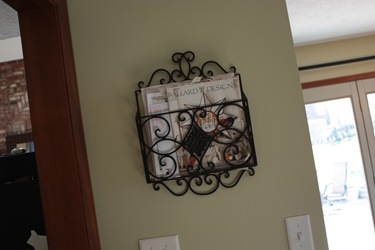
I want to show you this lovely little pocket that saved me from going crazy with all the mail on the counter every.dang.day filled-in a blank spot on my wall.

Picture 039 

I’m thinking of painting this little detail the same color red that the re-purposed sconces are.  Whatcha think??

Picture 040

Similar wall pockets are $49 from Ballard!  This one was $12.50 from my favorite store, of course!

Spray painting season is still on full-swing, do you have any projects lined-up?!

Next project is a spring monogram!  I LOVE MONOGRAMS!!!!!

Thursday, March 25, 2010

Spray painting season!

My first spray painting project of the season was more enjoyable than I had hoped.  I had the perfect combo for the occasion- fresh air, sunshine, 65 degrees….NAPTIME!

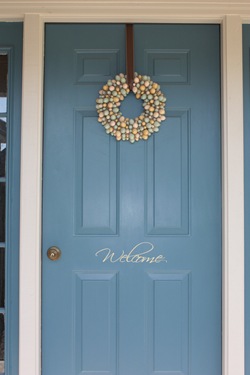
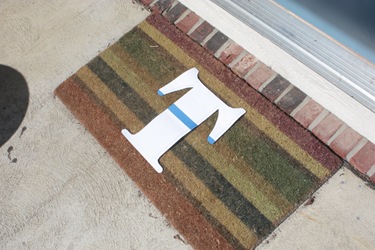
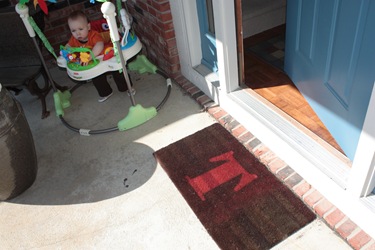
Here is my front door currently.  Cute.  Nothing fancy.  But there’s a ugly side to it.

Picture 001

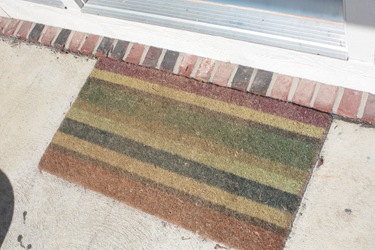
Uhg. My 3-year-old-never-moved-since-the-day-I-put-it-down rug.

Picture 002

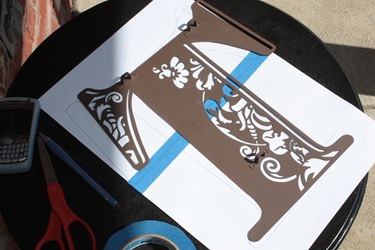
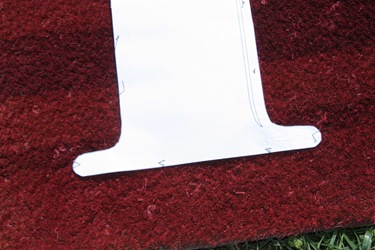
Since I’m really loving monograms right now I decided to give the rug the “T” treatment.  First, I took one of my monograms off my kitchen wall as a template and made a paper stencil.

Picture 003

Picture 004

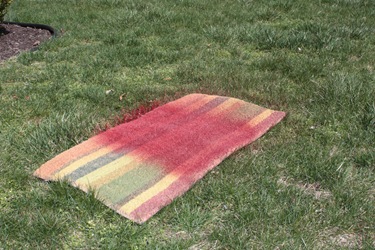
Then, I painted the center part of the rug the accent color.

Picture 006

Pinned the stencil onto the rug. (Originally, I tried taping it down-that didn’t work at all.)

Picture 007

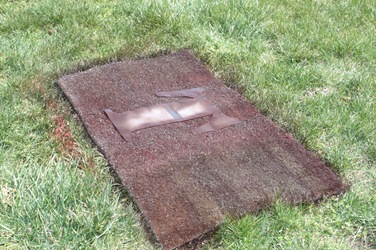
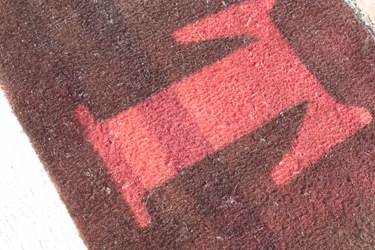
Then, I sprayed almost an entire can of the main color on the rug.  I could have used more, but I’m impatient and the kids were napping and I hate unfinished projects.  So, I’m calling it done.

Picture 008

Picture 010

Ok, so it’s not perfect.  I hate that the stripes show through... and the “T” is off-center.  But not too shabby for a FREE rug upgrade!

Picture 011

I have LOTS of projects coming up… now that it’s spray painting season.  Find out what I do with these less-than-beautiful candle sconces…

Picture 005

GET CRAFTING!!

Saturday, January 30, 2010

Kitchen Mini Make-Over

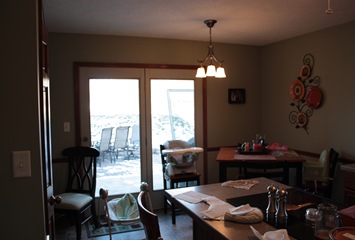
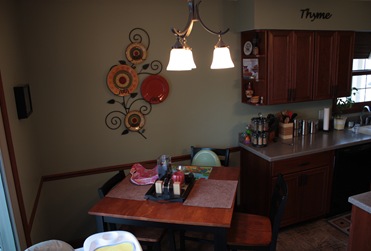
This make-over started when I decided I wanted a tile backsplash.  Of course then I had to change the wall color… and get new decor… and make a new valence… and put some curtain panels on the doors… 

I like change.  It makes my house feel new again.  Am I alone in thinking that?

So here are my before pictures—my kitchen is a wreck.  I took then last minute before I painted.  I almost forgot to take them at all!

BEFORE:
IMG_3780

IMG_3781

IMG_3783

AFTER:

           IMG_3973

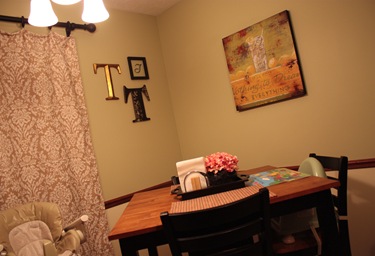
      I saw this Rodney White print in a Ballard Designs catalog and fell. in. love…. but fell back out. of. love with the $249 they wanted for it .
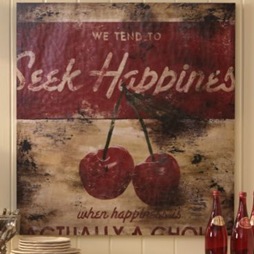
WT279_1

I found this one at Target form $50!!!! And its Rodney White, too!
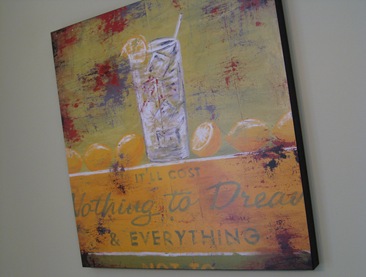
IMG_2662

Looks great on my wall, eh??

 IMG_3972

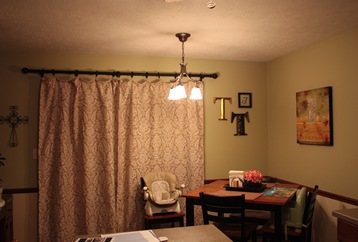
Do you like the monogram collection?  I loooove it!  I’m collecting more to add to it.
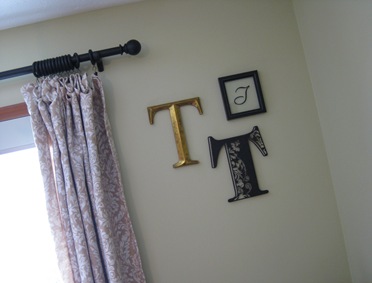
IMG_2653

And those yummy damask panels?  Lowes.  They have the best selection of curtains!!!
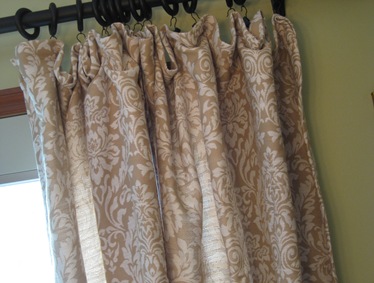
IMG_2663

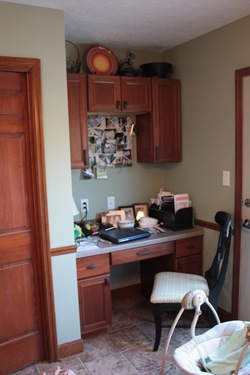
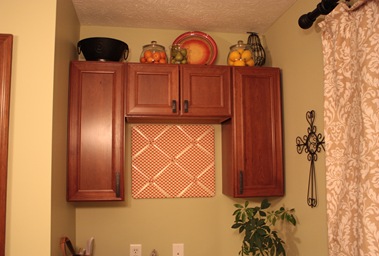
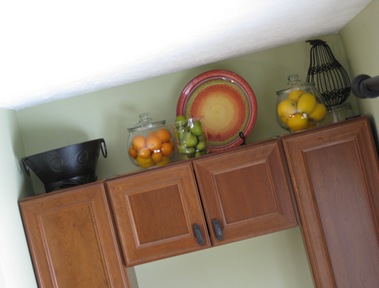
My goal for the re-do was a lighter-brighter kitchen.  I went with fruit for the “brighter”.  Faux lemons, oranges, and pears top my desk cabinets.
IMG_2648

IMG_3975

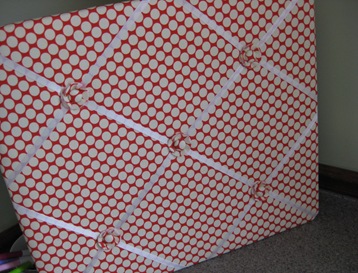
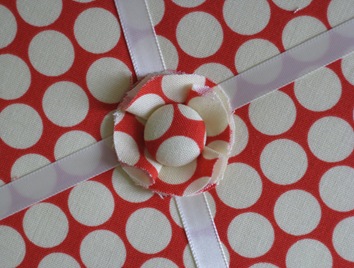
The photo-less photo board was a re-do as well.  I don’t have any before pictures, but I’ll tell you… it was boring and beige.  I covered it with some AMY BUTLER fabric.  (Those of you that know me, know that I love Amy Butler!!!)  Then I added some detail around the buttons.  ( I made the buttons to match with a button kit from Hob Lob, my bff.)
IMG_2657

IMG_2658

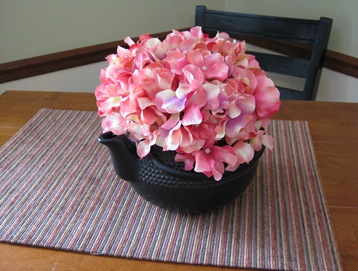
I put together a couple faux flower arrangements, too.  I had this little teapot but it would get lost on my black glass-top stove.  It stands out now with a few hydrangea blossoms in it!  (You can see it in it’s new home in the photo of my table above.) 
IMG_2654


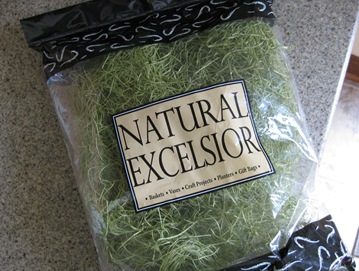
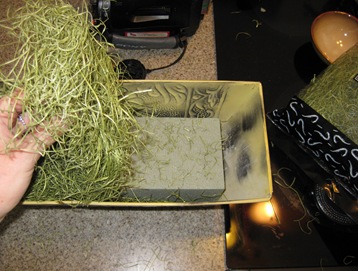
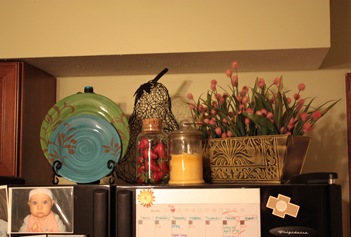
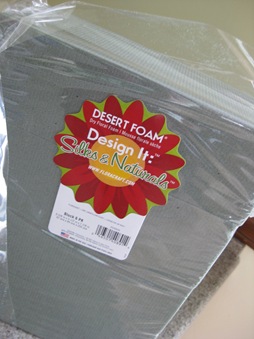
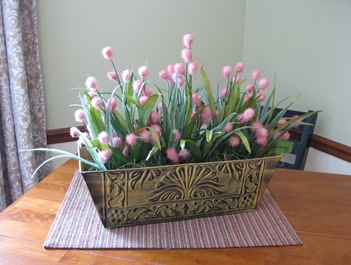
I needed something “natural” on the top of my fridge.  I had a flower box I took some hideous faux ivy out of that I had been wanting to use. 

I took some of this:
IMG_2660

and some of this:

IMG_2659 

and did this:

IMG_2640

Got a couple stems of some faux fluffy pink flowers that I think are so super-cute and stuffed them in. 

And this is how it turned out:
IMG_2643

IMG_3986

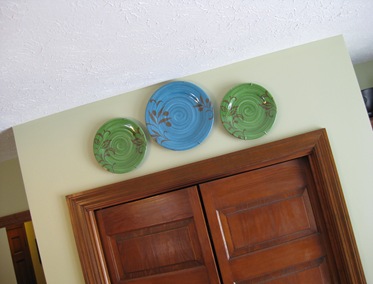
Oh!  Those plates? Meijer. CLEARANCE! $1.49 each. Super-love them!  I used them on top of the fridge and here:
IMG_2649

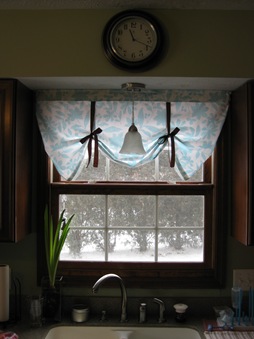
Here’s the new valence.  I made it.  Sooo easy.  Sooo cute.
IMG_2651

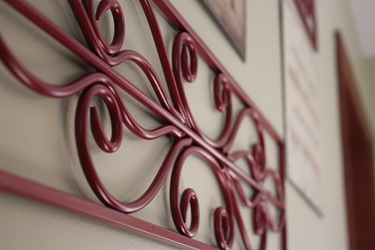
So did you notice?  The backsplash that started it all?  Not in.  The tile hasn’t even been purchased. 
Tuesday, January 12, 2010

I love a good steal!

It’s no secret that I’m a mom and I’m on a budget—so I frequent these fantastic sites-

www.babysteals.com

and

www.kidsteals.com

Check them daily for a great deal.  I’ve ordered numerous items from them.  They have reasonable shipping rates and I’ve always received my items within a few days.

What sites do you “steal” from?

Friday, January 1, 2010

My New Curtains

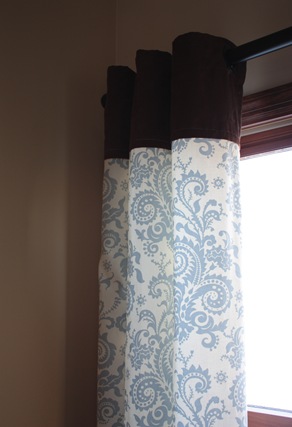
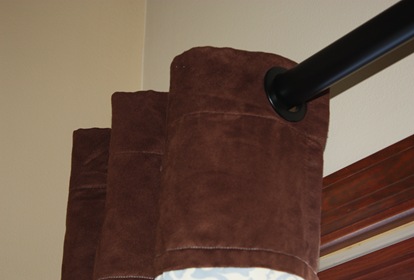
I was tired of the plain red roman shades that hung on either side of my fireplace, so I made these super-cute new ones!  They are my first step in updating my living room and getting rid off all the red I had in there.  Enjoy!

(Sorry for the poor picture quality- I’ll show you the entire fireplace and windows when my house is clean…. ummmm, it might be awhile.)

Picture 193

Picture 196

** To make 2 panels the total cost was about $30!! 

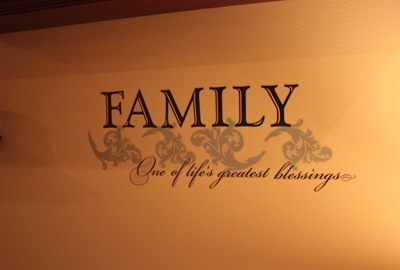
I also wanted to share this-  found this wall decal at Meijer for $10!  I had been looking for one on Etsy (of course!), but they were no less then $20 for one smaller than this.  Love it!

Picture 171